So, you want to work on a document or assignment on more than one computer. Maybe you've started it on your own laptop and at some point you know you want to open it on a university computer or you've made some notes on your tablet and want to access them on your laptop?
This is very simply achieved by either creating the document in OneDrive or adding it to your OneDrive when you are ready to share it to yourself.
Any document that is in your university OneDrive is accessible on any other internet connected device.
This is also a great way to create a backup of your files in case anything should go wrong with your device.
Access your OneDrive
You can access your University of Cumbria OneDrive by logging into The Student Hub and clicking on the OneDrive button.
Create a document in OneDrive
Once you are in your OneDrive, you can create documents directly in your web browser. This can be a Word, Excel, PowerPoint or OneNote files and will allow you to add or amend content from any internet connected device. Examples may include taking notes, writing an assignment or starting a presentation.
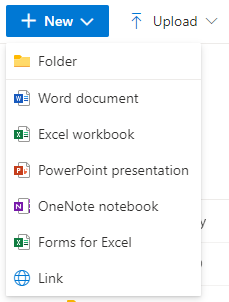
1. In your OneDrive, select the + New drop-down button

2. Select the type of file you want to create (or create a new folder for the current module you are working on)
3. With your new blank document open, you can click into the auto-generated file name (top-left of your screen) and change it to something relevant
a. 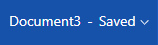
b. 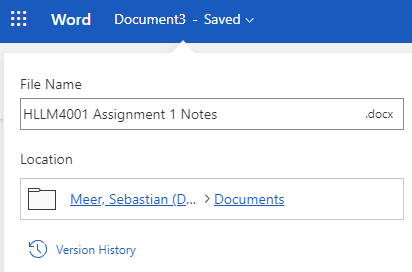
c. 
NOTE: Anything you write or create in OneDrive will be auto-saved as soon as you type/add.
Adding a document from your device to OneDrive (mobile app)
This method works best with small screen such as smartphones and tablets.
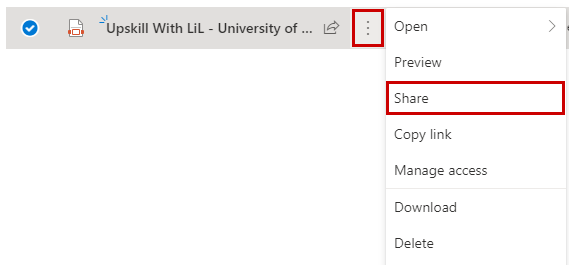
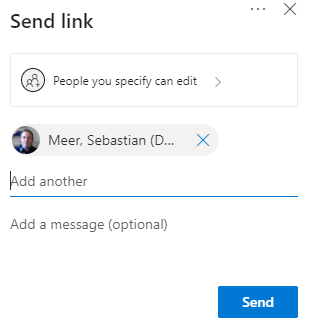
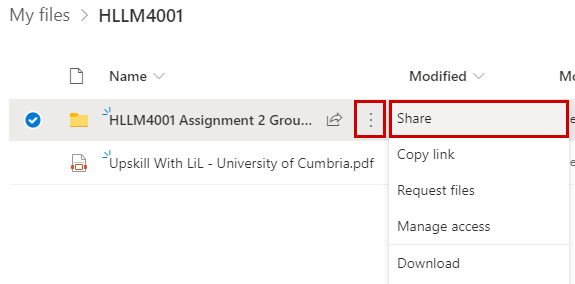
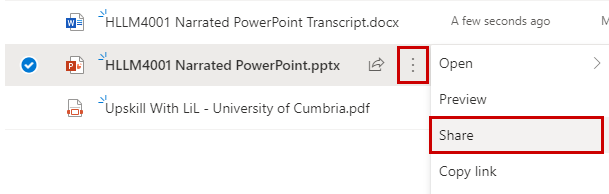
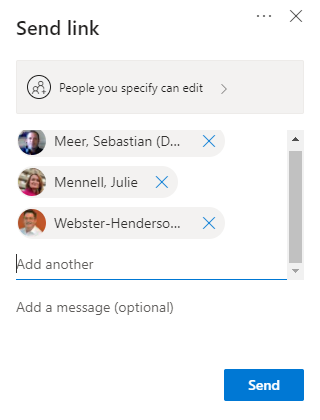
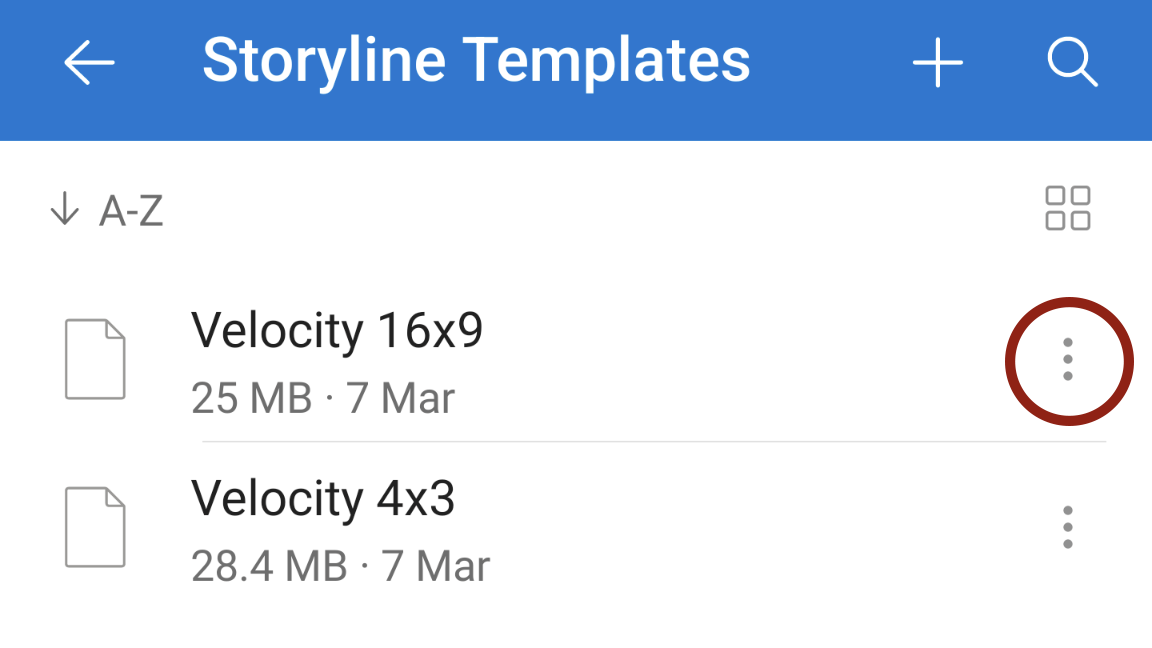
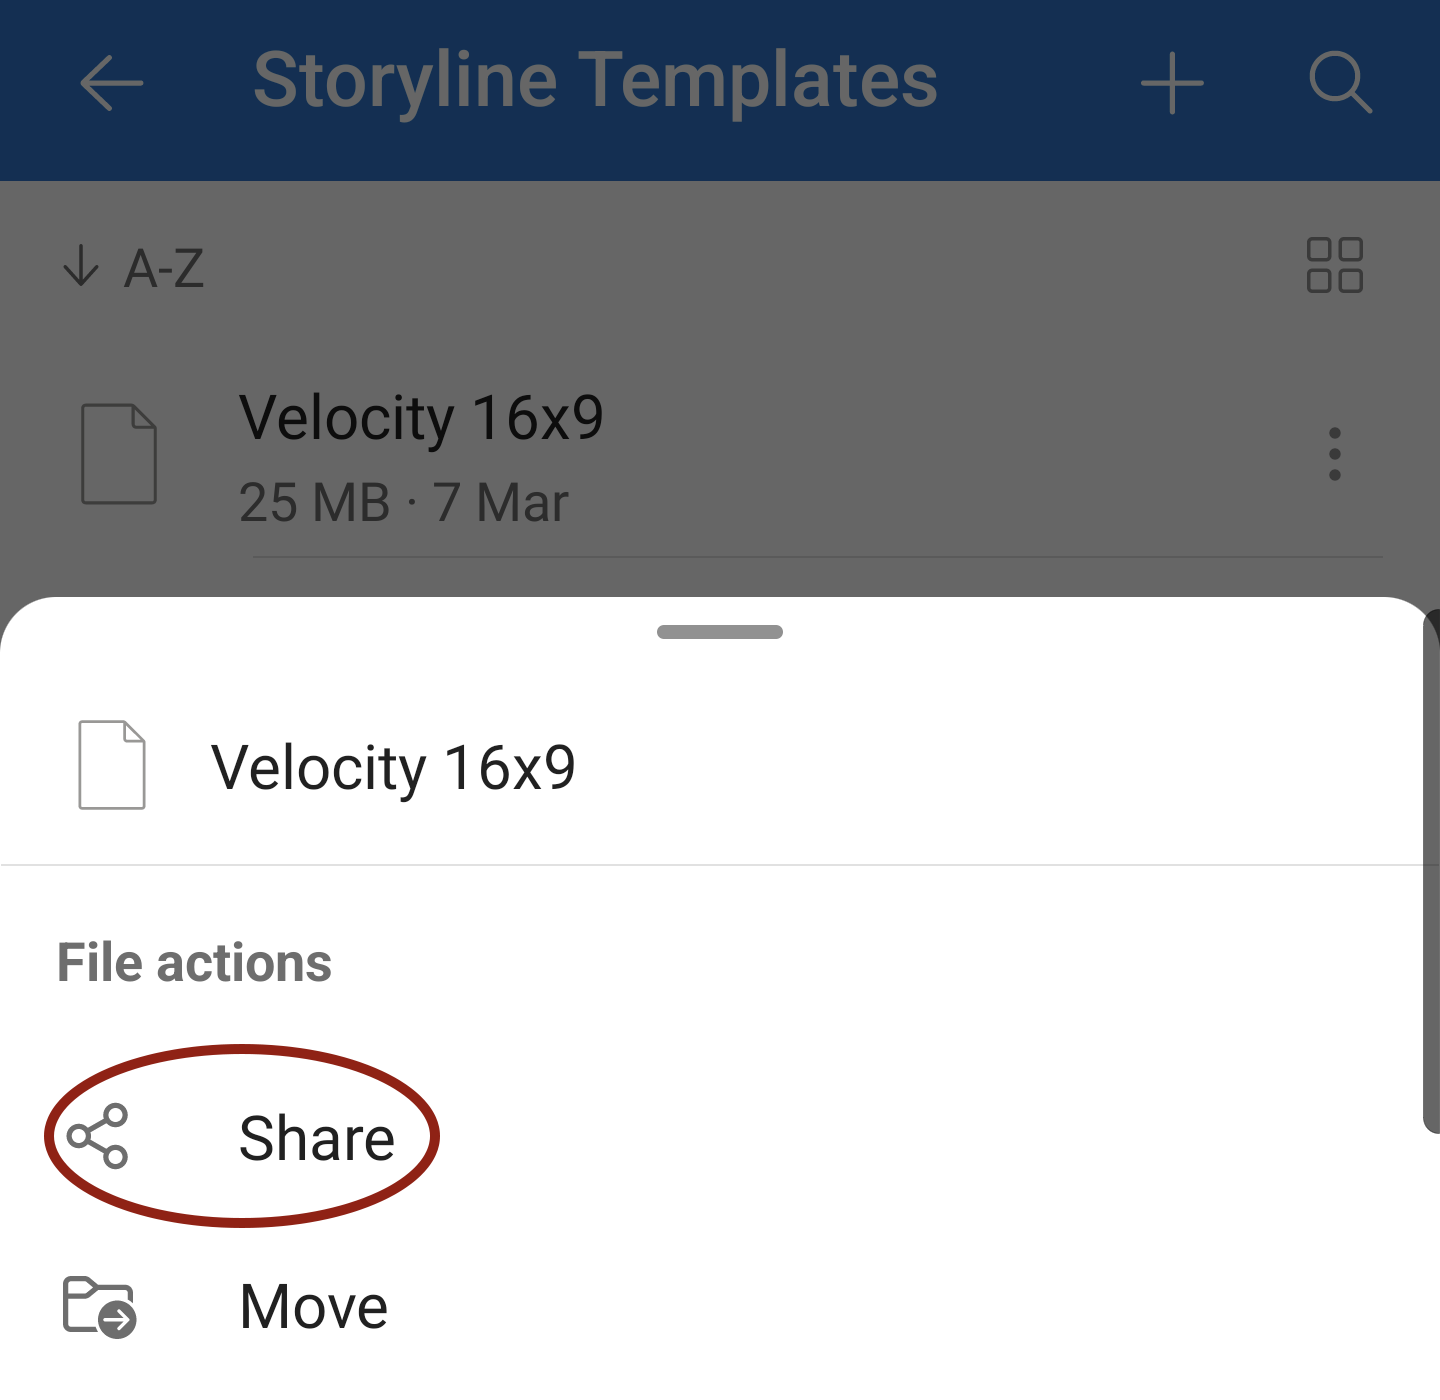
If you have downloaded and logged into the OneDrive App, you can simply select any file or document on your device and click the Share button. Rather than sharing to a contact in WhatsApp or sharing to Instagram, you can share the item to your university OneDrive by selecting that icon from the Sharing window.
Note: Share icons look different across all devices:

Adding a document from your device to OneDrive (web)
This method works best on larger screens such as laptops, Macs and PCs.
1. Open your university OneDrive in your preferred web browser.
2. If you are working on a single screen, you may want to shrink your web browser down to half of your available screen space.
3. Open up your file browser and locate the file(s) that you want to add to OneDrive.
4. Simply drag the file(s) from your device into the OneDrive window:
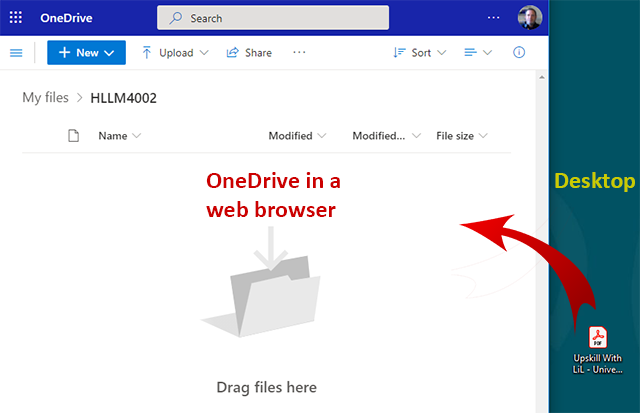
5. Alternatively, you can click on the Upload button (near the top of the OneDrive window) and choose to browse for your file(s) this way. Any selected files will be added to your OneDrive.